Master Your Hotel Wi-Fi: The Ultimate Travel Router Setup Guide
Overview
Hotel Wi-Fi networks are often insecure, bandwidth-restricted, and frustrating to connect to with multiple devices. A travel router solves these problems by creating your own private, secure network inside the hotel room. This guide walks you through everything you need to know: from choosing the right device to configuring advanced features like VPNs and captive portal bypass.

Prerequisites
Hardware Requirements
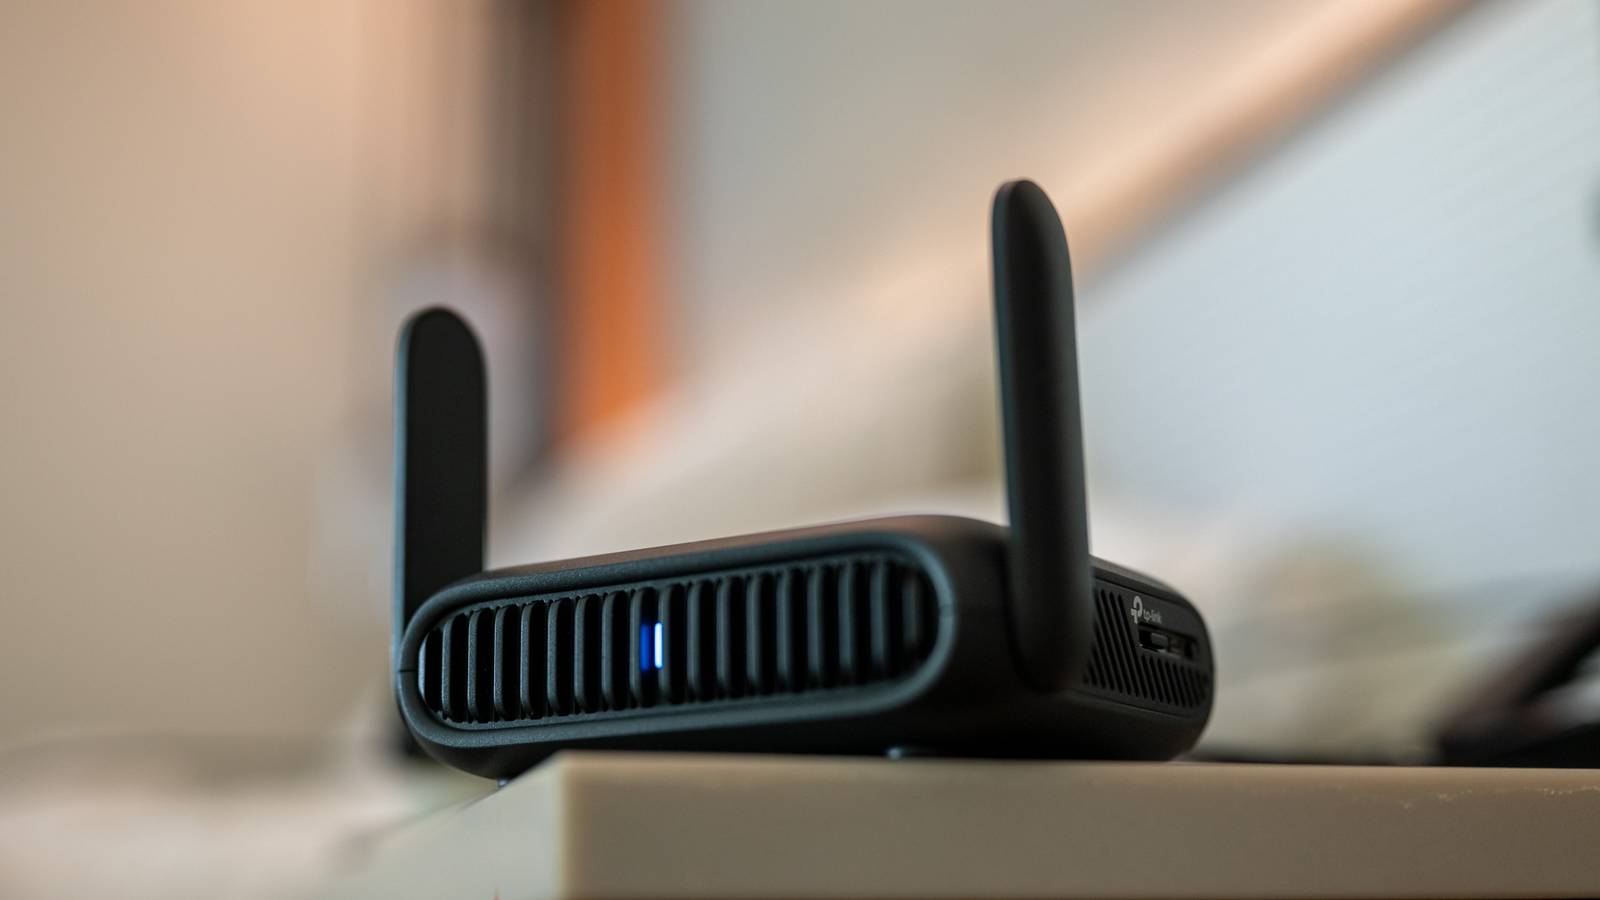
- Travel router (e.g., GL.iNet GL-MT300N-V2, TP-Link TL-WR902AC)
- Power adapter (USB-C or micro-USB, check your router’s spec)
- Ethernet cable (optional, for rooms with wired internet)
- Smartphone or laptop to configure the router
Software & Knowledge
- Familiarity with basic Wi-Fi settings (SSID, password)
- Optional: VPN subscription for encrypted tunneling
- Admin access to your travel router (default IP usually 192.168.8.1)
Step-by-Step Instructions
1. Unpack and power on your travel router
Connect the travel router to a power source using the included adapter. Wait for the LED status indicator to show a solid or blinking light (consult your manual for specific patterns).
2. Connect to the router’s management interface
Using your laptop or phone, scan for Wi-Fi networks. You’ll see the router’s default SSID (e.g., “GL-xxxx” or “TP-Link_xxxx”). Connect to it. Open a browser and go to http://192.168.8.1 (or http://tplinkwifi.net for TP-Link models). Log in with default credentials (usually admin/admin or found on a sticker).
3. Configure the router’s connection to hotel Wi-Fi
Travel routers offer several modes. For hotel use, select “Repeater” or “Client” mode. Scan for the hotel’s Wi-Fi network, select it, and enter the password (if the hotel uses a pre-shared key). If the hotel uses a captive portal (browser login), proceed to step 4.
4. Bypass the hotel’s captive portal
After connecting the travel router to the hotel network, you’ll need to authenticate via the portal. Disconnect from your router’s management interface and connect to its new SSID (the private network you just created). Open a browser; the captive portal page should appear. Enter the hotel’s room number and last name or code provided at check-in. Once accepted, all devices connected to your travel router will share that session.
5. Secure your private network
Back in the admin panel, navigate to Wireless Settings. Change the SSID to something unique (e.g., “TravelNet”) and set a strong WPA2/WPA3 password. Enable isolate client if available to prevent connected devices from talking to each other.
6. Optional: Set up a VPN for full encryption
If your travel router supports OpenVPN or WireGuard, configure it under VPN settings. Enter your provider’s server details, username, and password. Once active, all traffic from your devices is encrypted before leaving the hotel network. This protects against snooping and man-in-the-middle attacks.
7. Connect your devices
On your phone, tablet, laptop, and even streaming stick, scan for the new SSID you created in step 5. Enter the password. You are now on a secure, private network. All devices share the hotel’s single connection but with added security and no individual logins.
Common Mistakes to Avoid
- Forgetting to change default credentials – Leaving admin password as “admin” makes your router vulnerable to nearby users.
- Placing the router too far from the window – Hotel walls weaken signals; keep the travel router near the room’s strongest hotspot (often by the window).
- Ignoring firmware updates – Outdated firmware may have security holes. Check for updates before each trip.
- Using the wrong mode – Some routers default to “Router” mode, which creates a separate subnet and causes double NAT. Always use “Repeater” or “Client” mode in hotels.
- Skipping the captive portal step – Without authenticating, the travel router may connect but the internet won’t work.
Summary
A travel router turns a single, often insecure hotel Wi-Fi connection into a private, secure network you can trust. By following these steps—powering up, configuring repeater mode, bypassing captive portals, securing your own SSID, and optionally adding a VPN—you protect all your devices with minimal hassle. Pack one on your next trip and stop fighting hotel Wi-Fi.
Related Articles
- 6G Future Defined by Ten Critical Technology Enablers, Experts Reveal
- Decoding the Mac Mini Price Hike: A Buyer's Guide to the $799 Shift
- Rethinking Man Pages: A Guide to Clearer Command Documentation
- Motorola's New Razr Models Disappoint: Last Year's Flagship Now Half Price, Experts Say Skip the Upgrade
- Man Page Evolution: Developers Push for Built-In Cheat Sheets and Categorized Options
- Mastering LDAP Secrets Management with IBM Vault Enterprise 2.0: A Step-by-Step Guide
- Revolutionizing LDAP Secrets Management: Inside Vault Enterprise 2.0
- 10 Innovative Ways to Make Man Pages More User-Friendly